
How to add an image to your website on Influx Plus
Today, we are going to be showing you how to add an image to your website. Images are important for storytelling on your website.
Step 1: Click on the grey plus icon
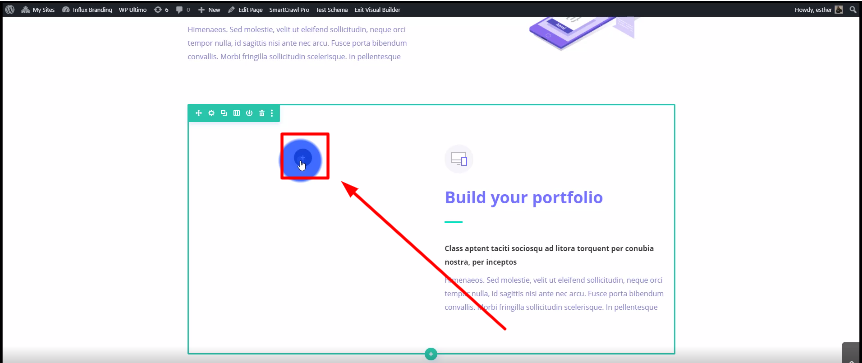
The first thing you need to do is click on the grey plus icon.
Step 2: Search for Image
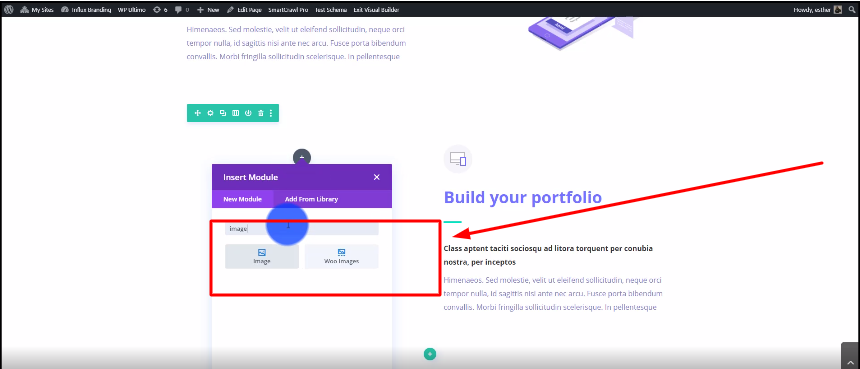
Now, you’re going to search for Image and click on the image box. As shown in the screenshot above.
Step 3: Click on Select Files
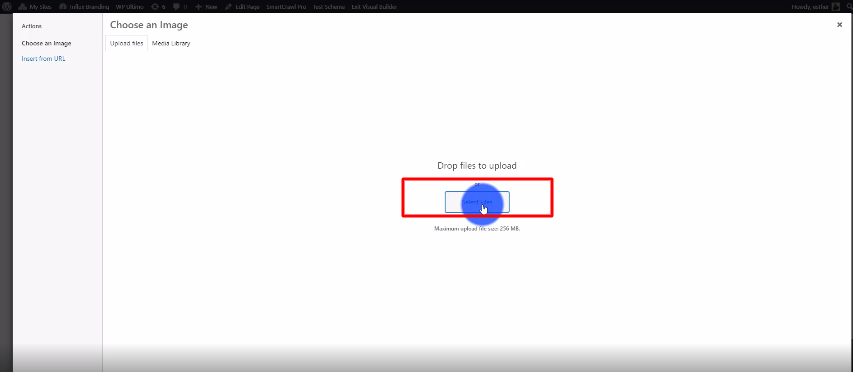
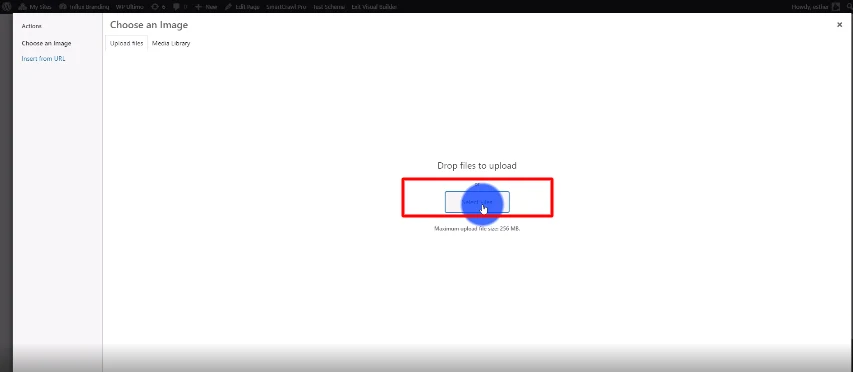
Then, you’re going to click on select files to select the image that you want to upload.
Step 4: Click on Upload Image button
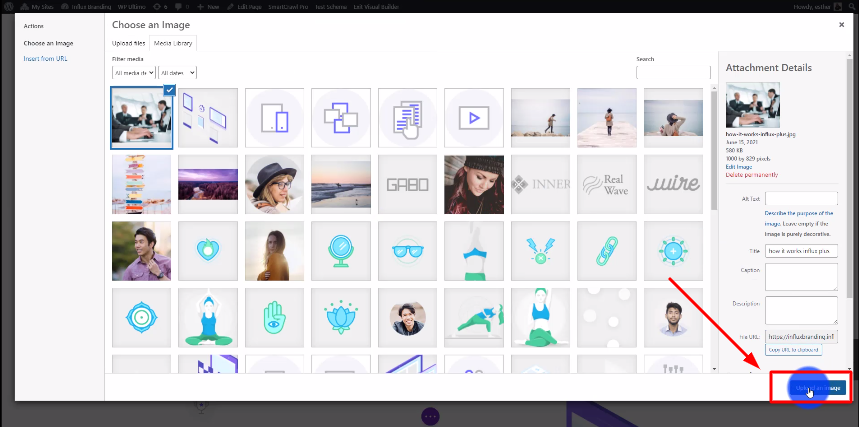
After selecting your image, click on the Upload Image button that is on the bottom right-hand side.
Conclusion
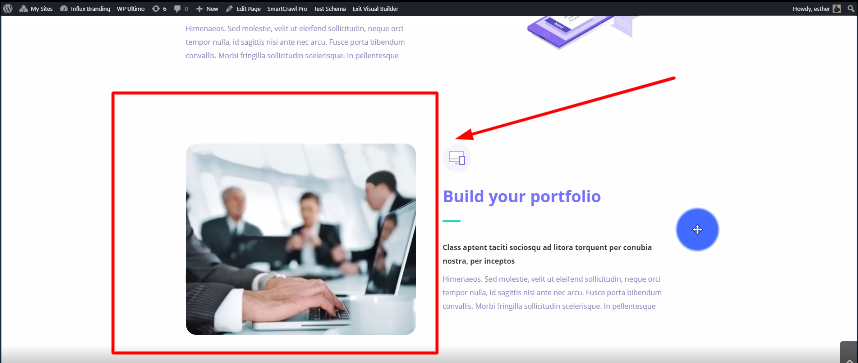
There you guys have it. That was a quick tutorial on how to add an image to your website on Influx Plus. Thank you guys for watching and we hope you enjoyed this step-by-step tutorial.
Turn a useful idea into a practical next step.
Use what you learned, then choose the support that fits the work ahead.
- Identify the work
Decide whether you need a new website, a focused service or ongoing support.
- Compare your options
Review scope and current charges before choosing.
- Talk through your project
Bring your website, your goal and the question you want to solve.
Explore the right service
Older tutorials may describe earlier software or interfaces. Confirm current requirements before making changes.