
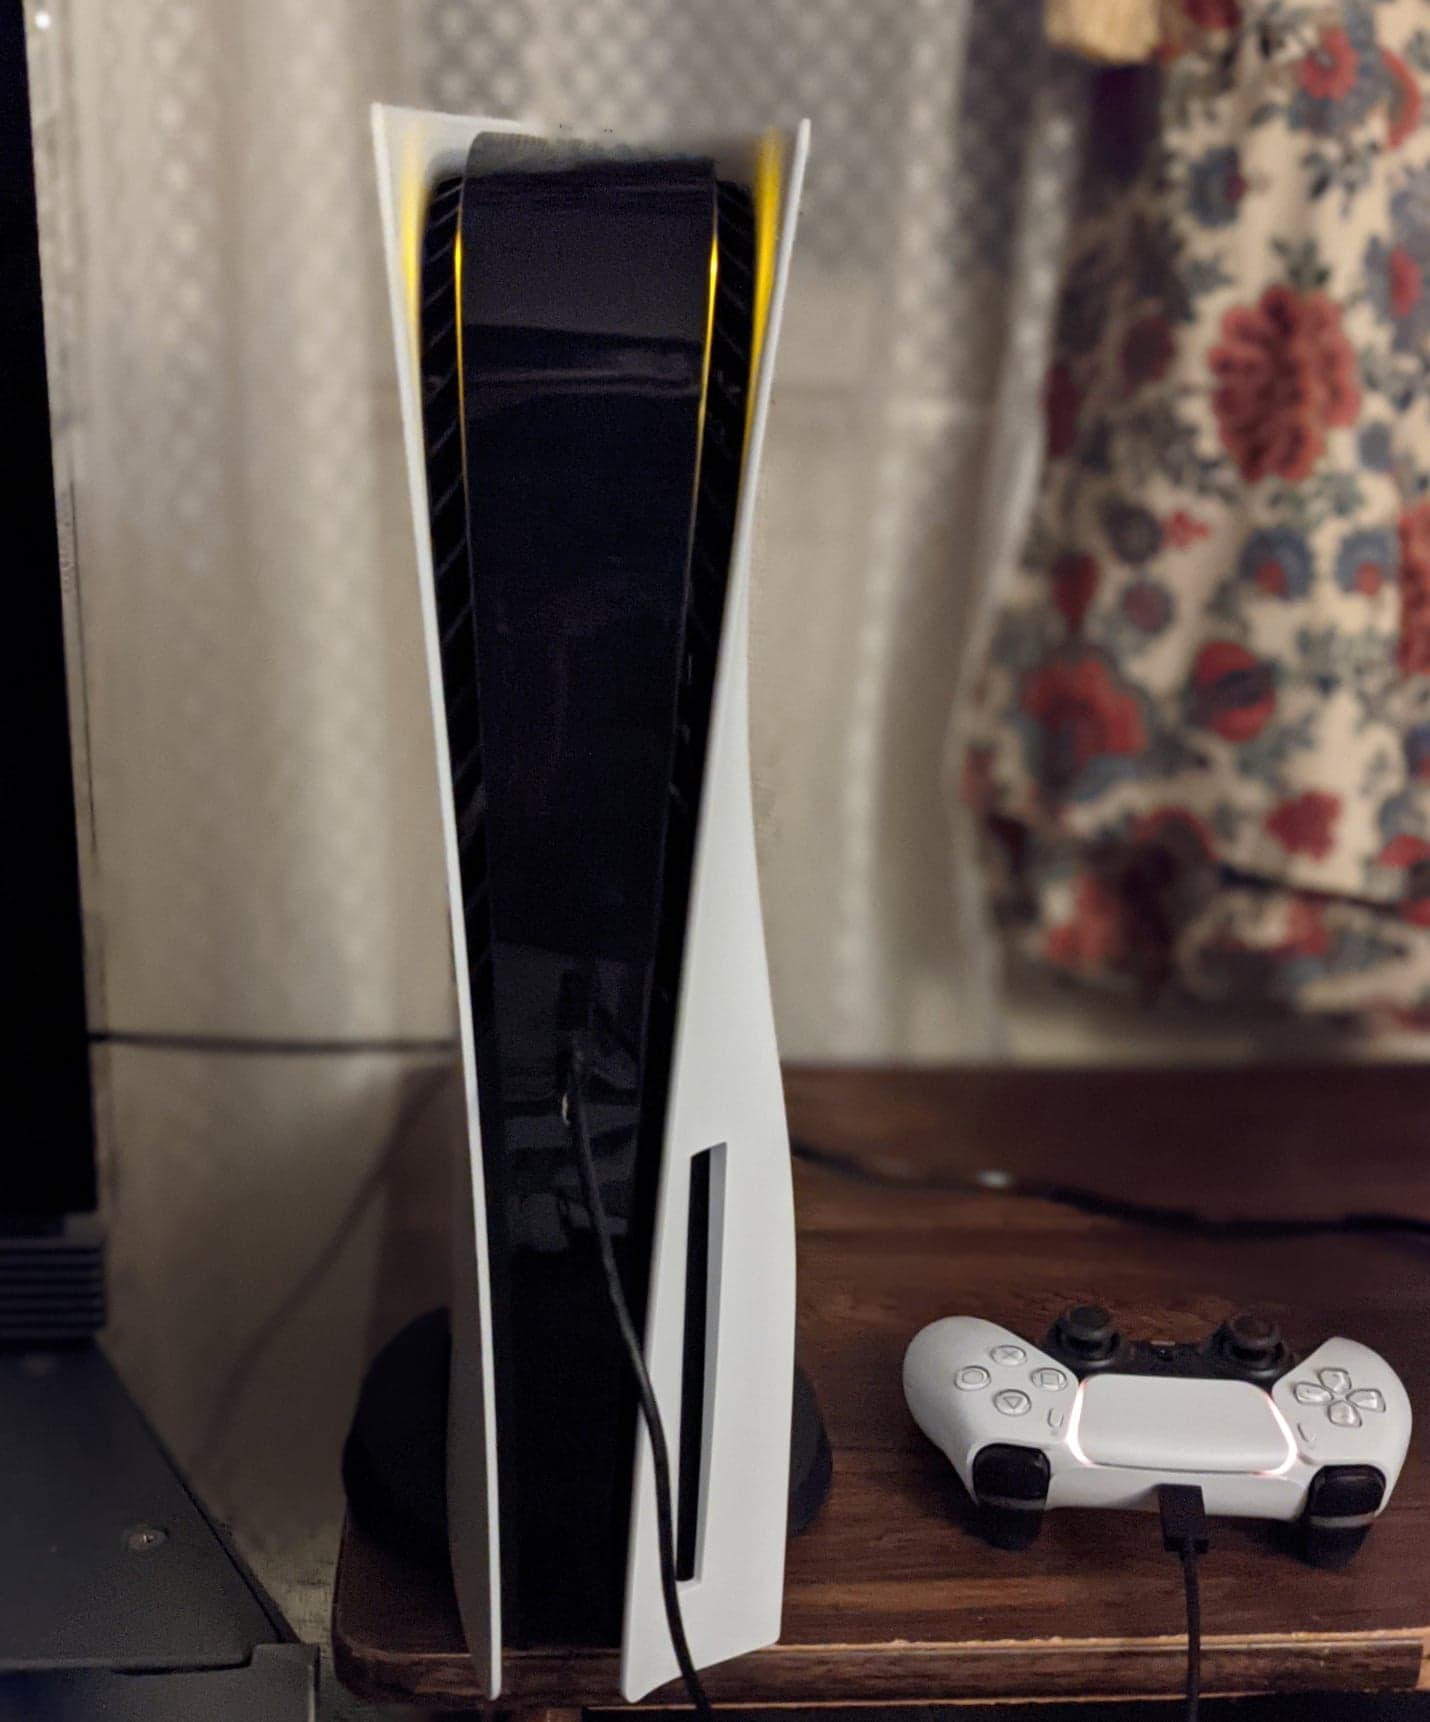

Featured photograph: Check your console and controller before launch. Osh33m / Wikimedia Commons. Original image unchanged. Image source · CC BY-SA 4.0.
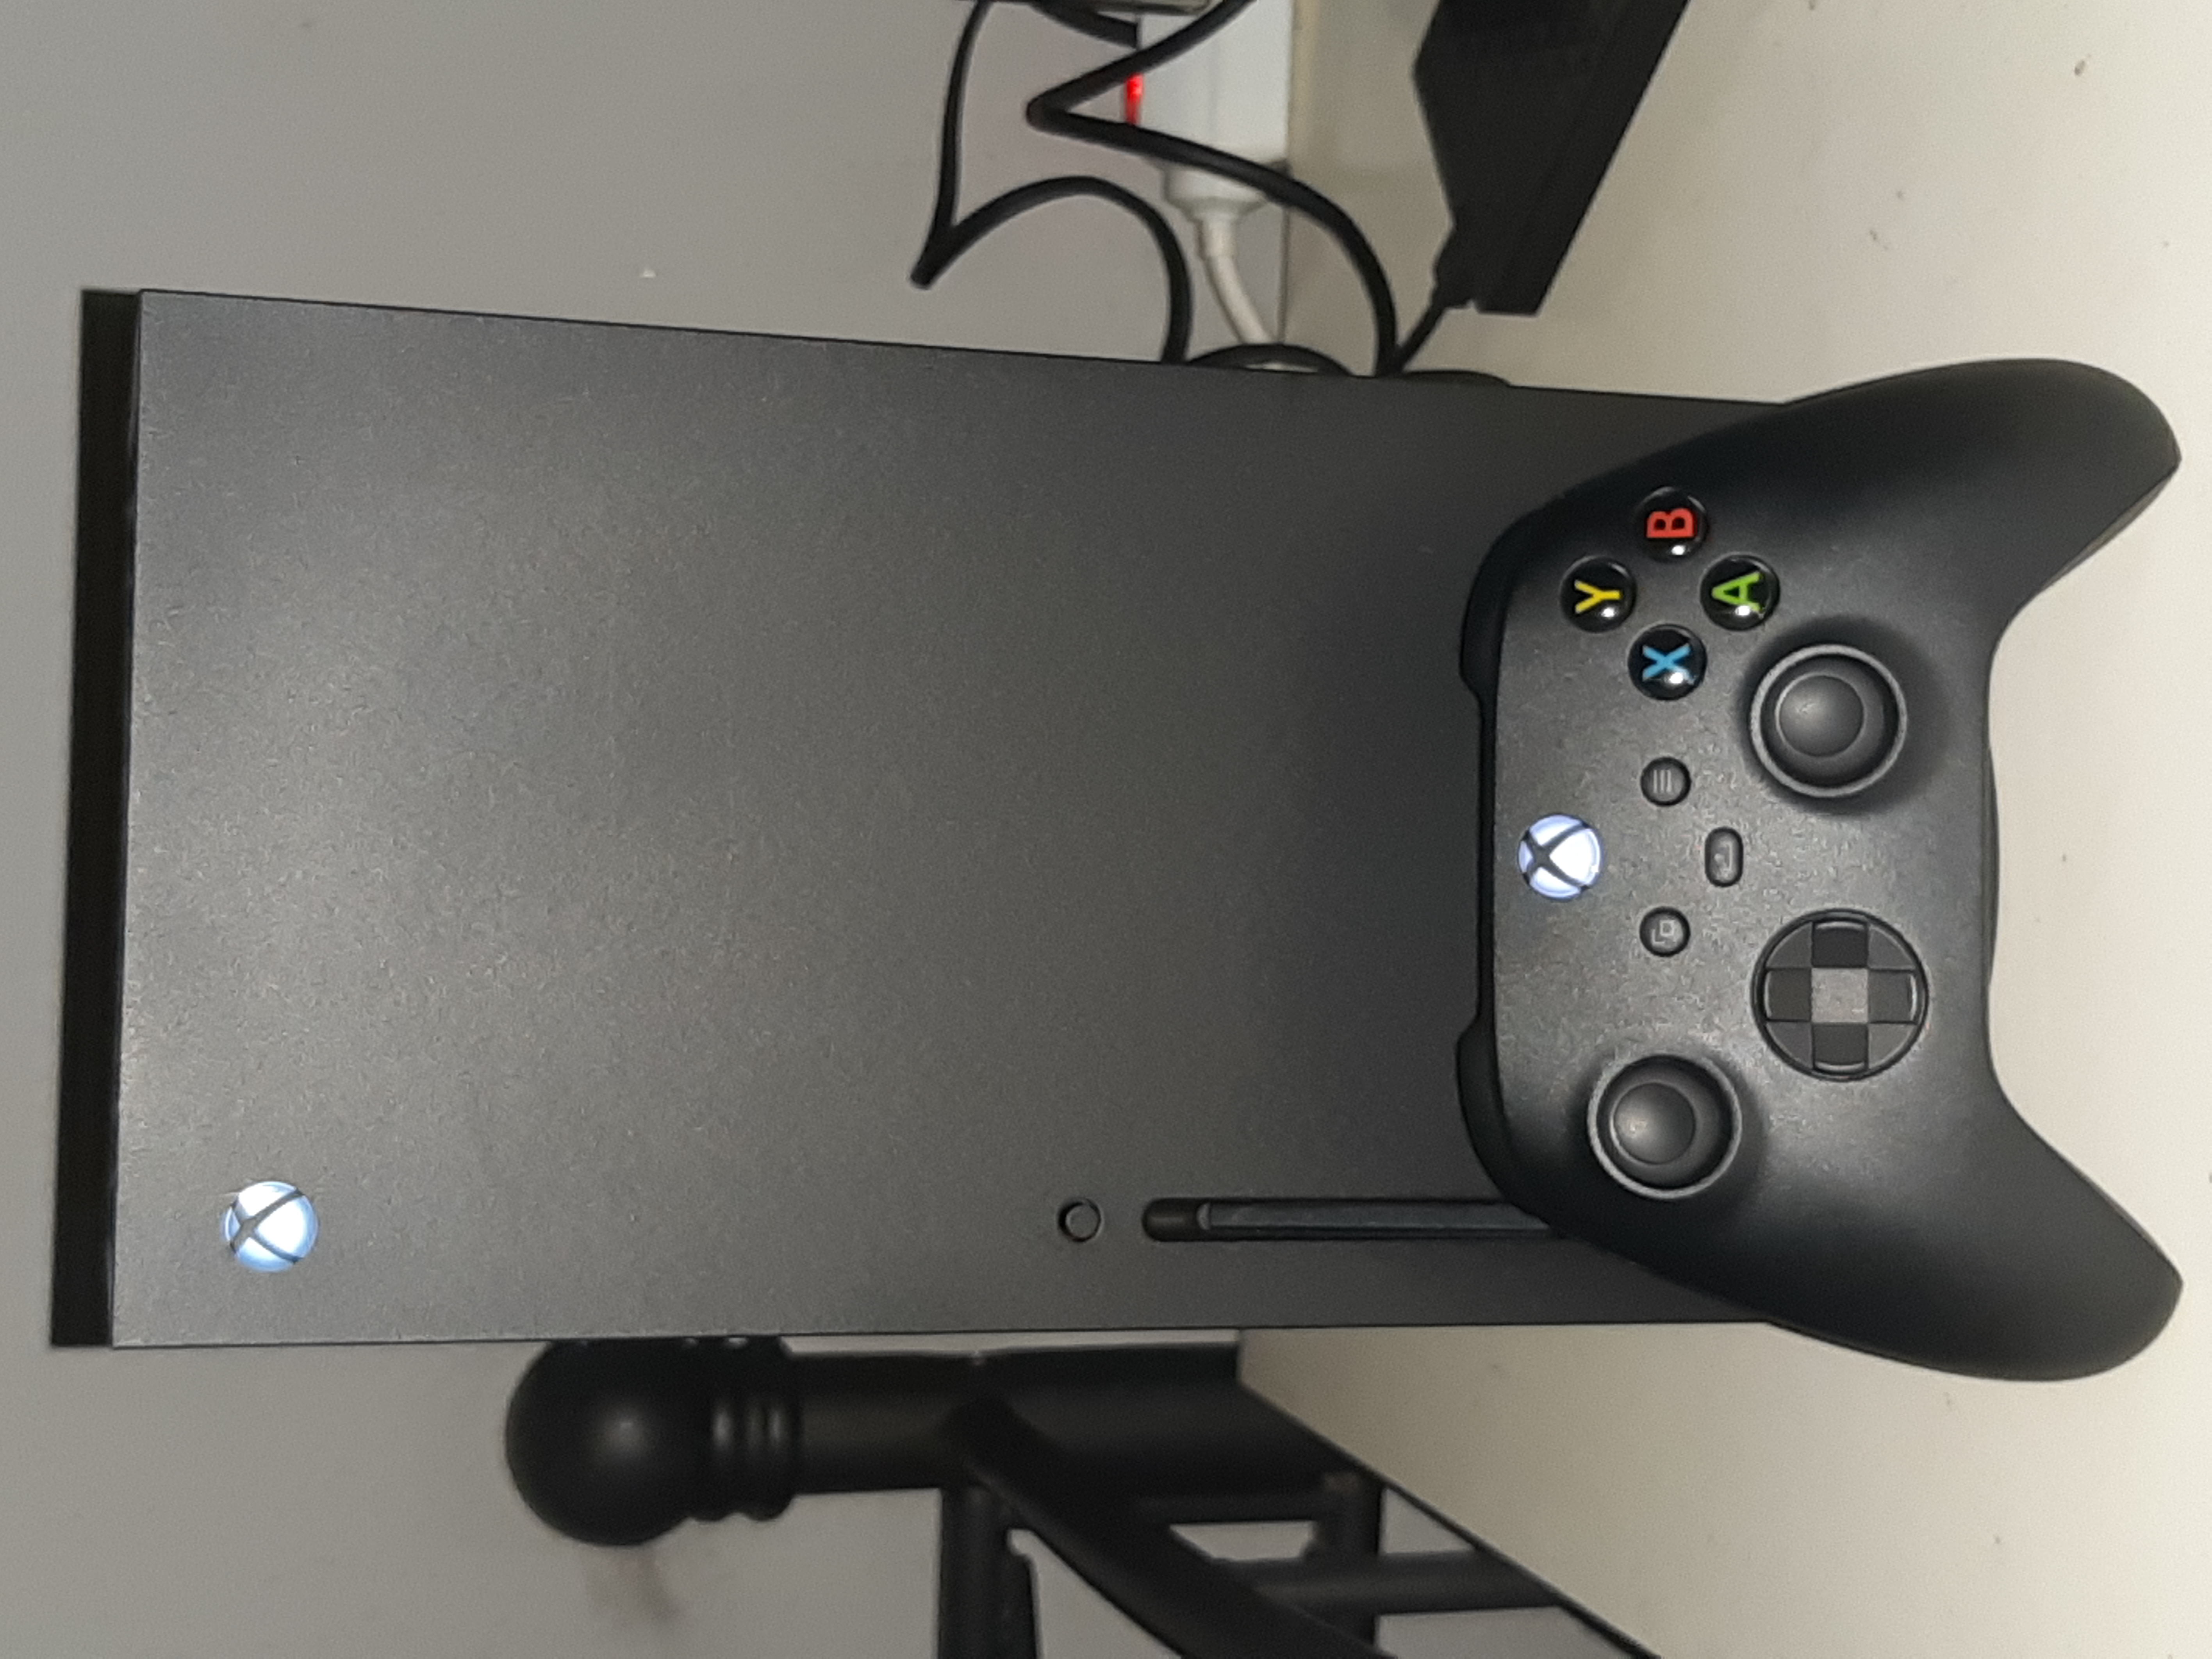
Updated November 18, 2026. GTA VI preparation starts with a few verifiable facts, not another rumor thread. This independent checklist separates Rockstar's published launch information from practical planning advice for players and creators. It is not affiliated with or endorsed by Rockstar Games, and it is not a hands-on game review. Recheck the linked official sources and your own console's store before spending money, deleting files or planning a broadcast. The equipment photographs illustrate preparation tasks; they are not compatibility recommendations.
Verified Launch Facts and Account Checks
Rockstar's GTA VI page lists November 19, 2026 for PlayStation 5 and Xbox Series X|S. Its regional support article specifies midnight local time on November 19 for those console families. Those are the supported launch statements used here. These sources do not establish a PC release date or PC hardware requirements, so a PC countdown or requirements list would go beyond the evidence. Start by checking that your order is for your actual platform and that the signed-in account owns the license. A familiar-looking store screen is not proof that the right account completed a purchase.
The physical edition needs a separate check. Rockstar's platform-and-editions article says the physical box contains a download code, not a disc. Buying a box therefore does not remove the need to download the game. Read the product listing and your order details, especially if somebody else bought it for you. Keep redemption codes and order information private. If your account cannot see the entitlement, use the retailer or platform's support route rather than buying the game again simply to test whether a second purchase works.
Make one small launch record you can actually use: platform, edition, account checked, current download status and the official source last checked. You do not need to publish this record or include passwords. If a new claim appears on social media, compare it with the official page before changing your plan. Keep a distinction between a release time, your download finishing and being ready to play. Account, network and device conditions can still affect your own experience; an announced release time is not a promise that every individual setup will be ready at that moment.
Safe Storage and Download Preparation
Rockstar's pre-load FAQ says up to 212 GB of available space may be needed depending on the device. Treat that as a published preparation figure, not a universal final installed size. Read the actual space request on your console and check the current FAQ again if they differ. Do not assume a pictured USB drive is a supported installation destination. The portable-drive photograph below illustrates storing creator recording archives only. Consult the console manufacturer's guidance before choosing storage for installed games, rather than treating a generic accessory photograph as a specification.
Before freeing space, separate replaceable downloads from irreplaceable saves and captures. Check the save-backup status you actually have; do not assume a subscription, cloud setting or successful backup. Remove only material you are comfortable reinstalling or have safely preserved elsewhere. If there is uncertainty about an important recording, leave it alone until you verify a copy. Check console updates and the download's own progress screen next. A slowly moving progress bar is a reason to inspect status, not a reason to delete more personal material blindly.
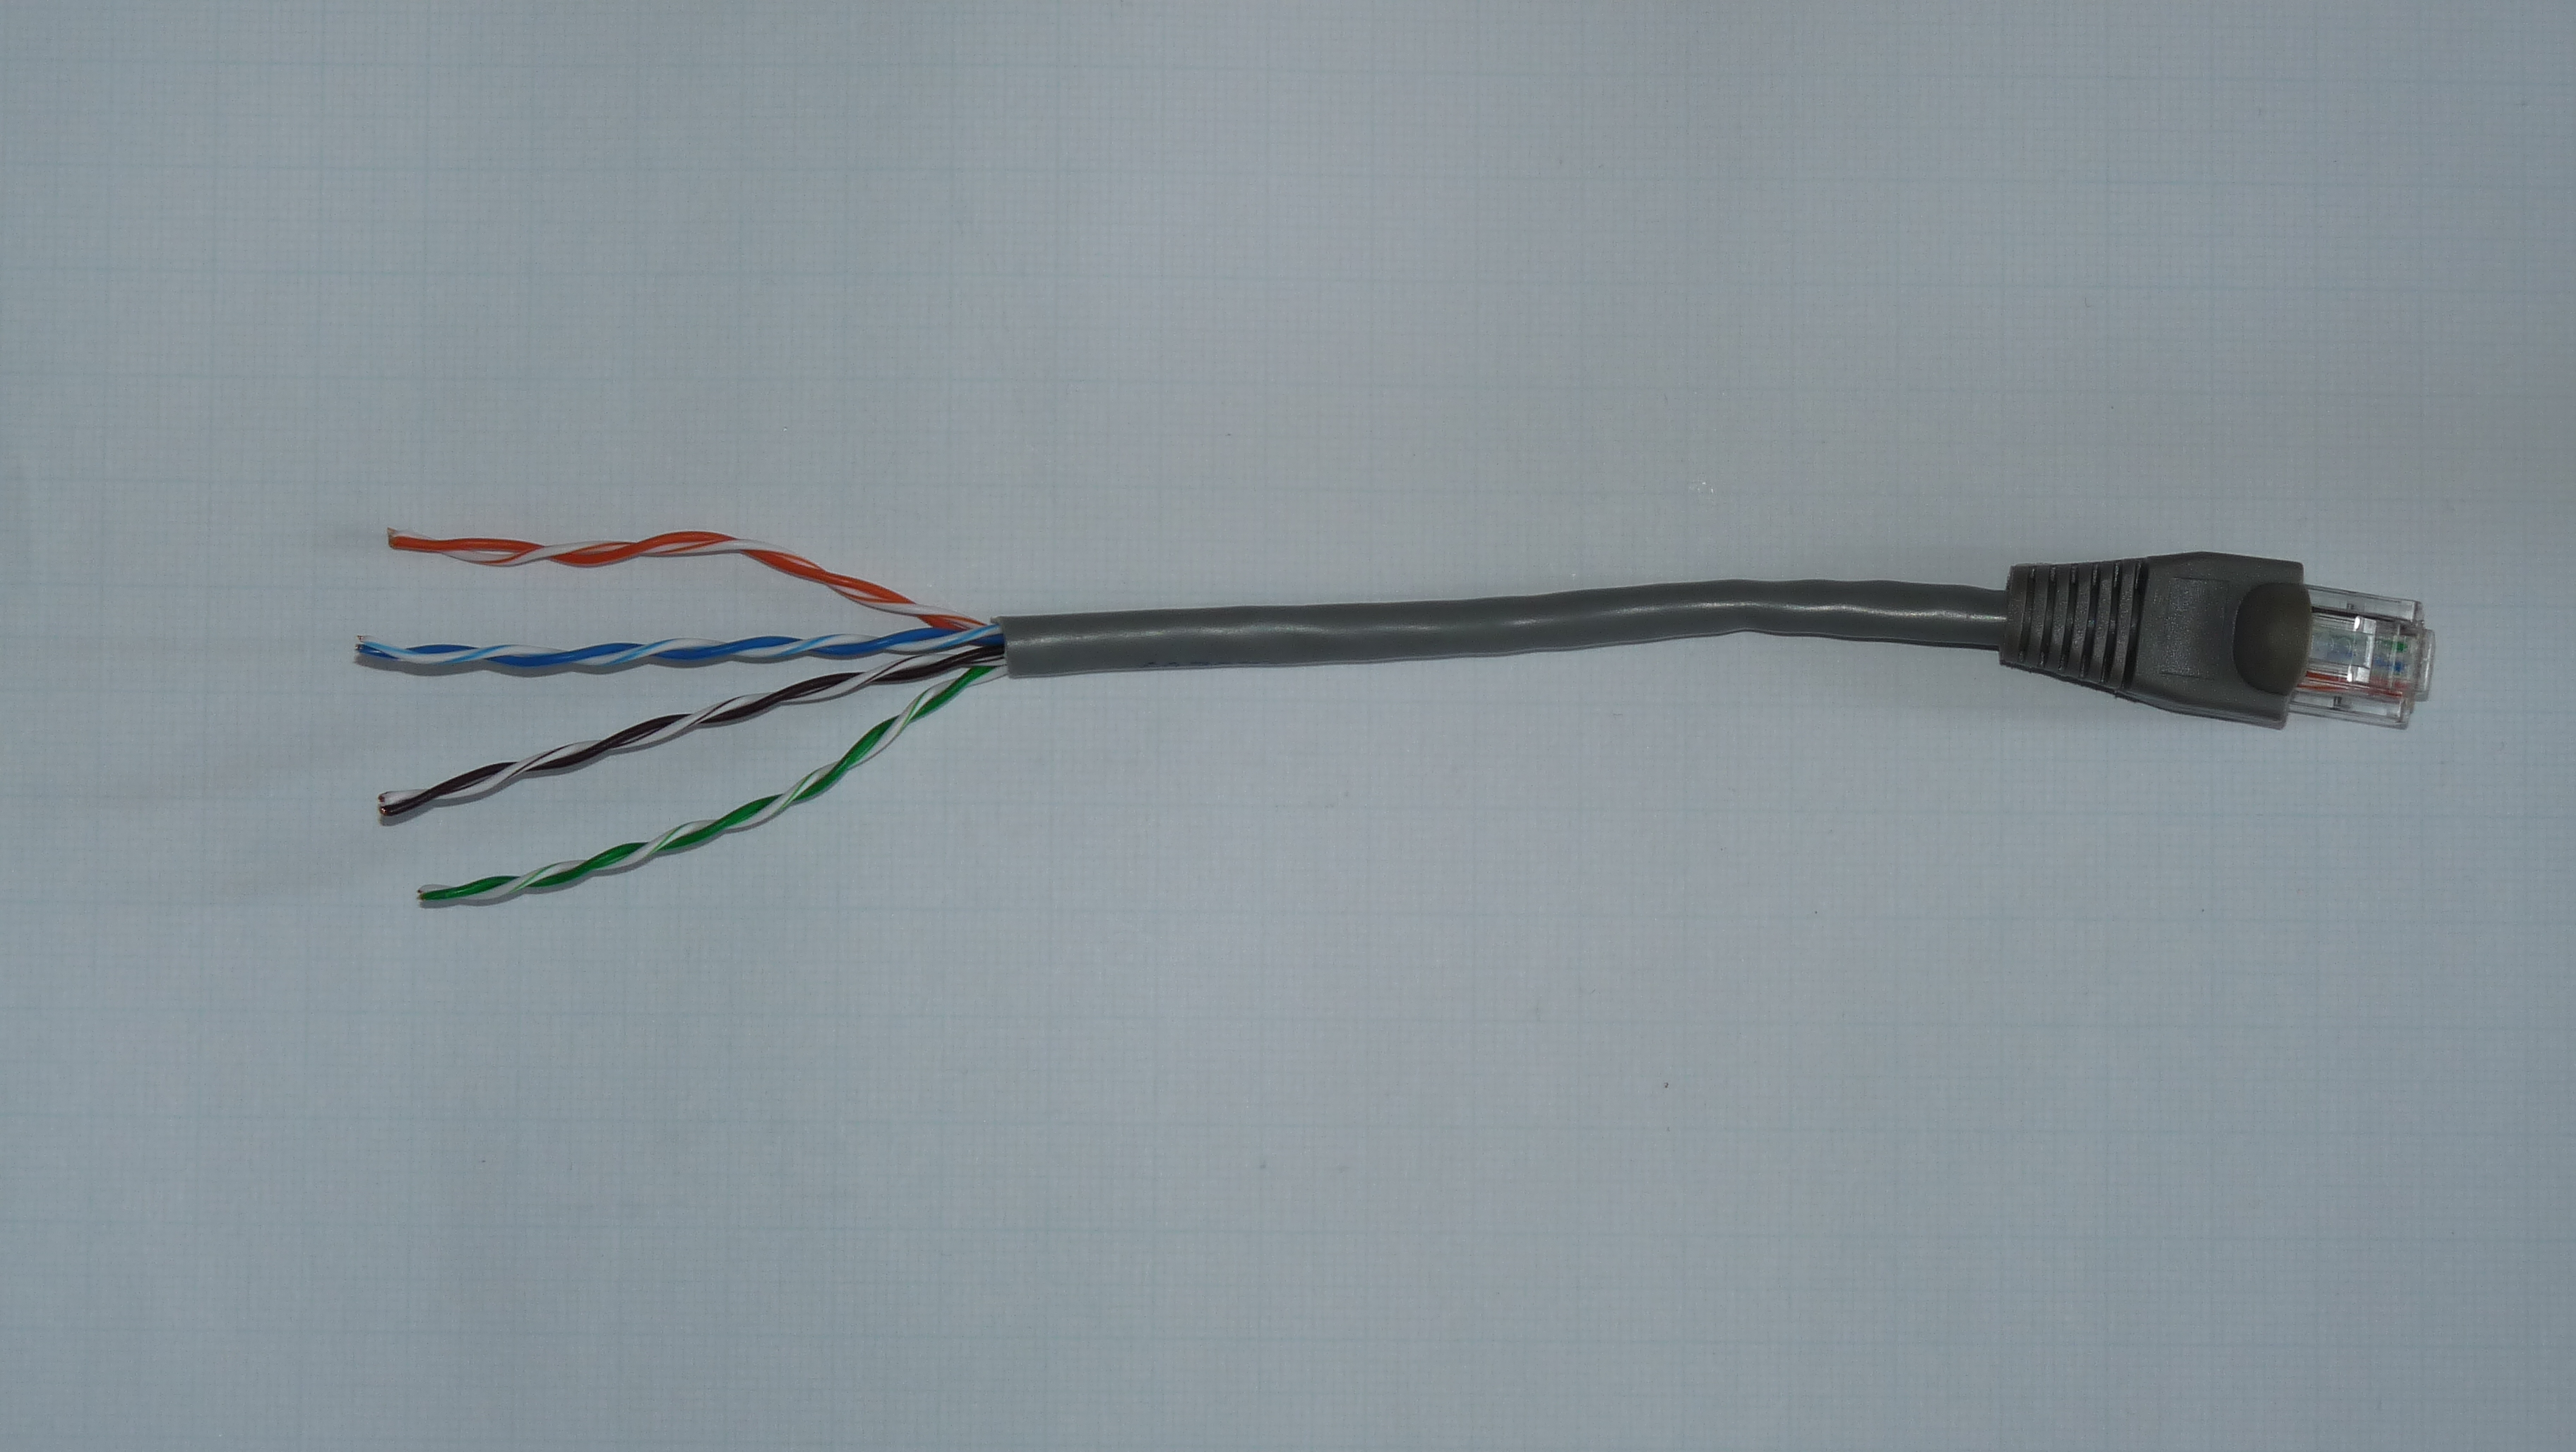
For the connection check, look at power, intact connectors and the network you intend to use. A wired connection may improve consistency in some setups, but it does not guarantee faster downloads; congestion and service conditions still matter. The Ethernet photograph is a cutaway construction illustration, not a repair guide. Do not cut or modify your cable. Keep account screens, network details and payment information out of screenshots you share when seeking help. If a service reports an outage, distinguish that from an isolated problem on your own connection before making changes.


Audio and Recording Readiness
Before diving into recording readiness, check your audio setup. Check the charge of your controller and your own audio equipment to avoid any unexpected issues during gameplay. A short private recording test can help you identify excessive game volume, microphone clipping, or private voice chat. For example, if you're planning commentary for a stream, test your mic to make sure it's not picking up background noise or other sounds that might interfere with your message. This gives you a concrete result to listen to before you decide whether more adjustment is needed.
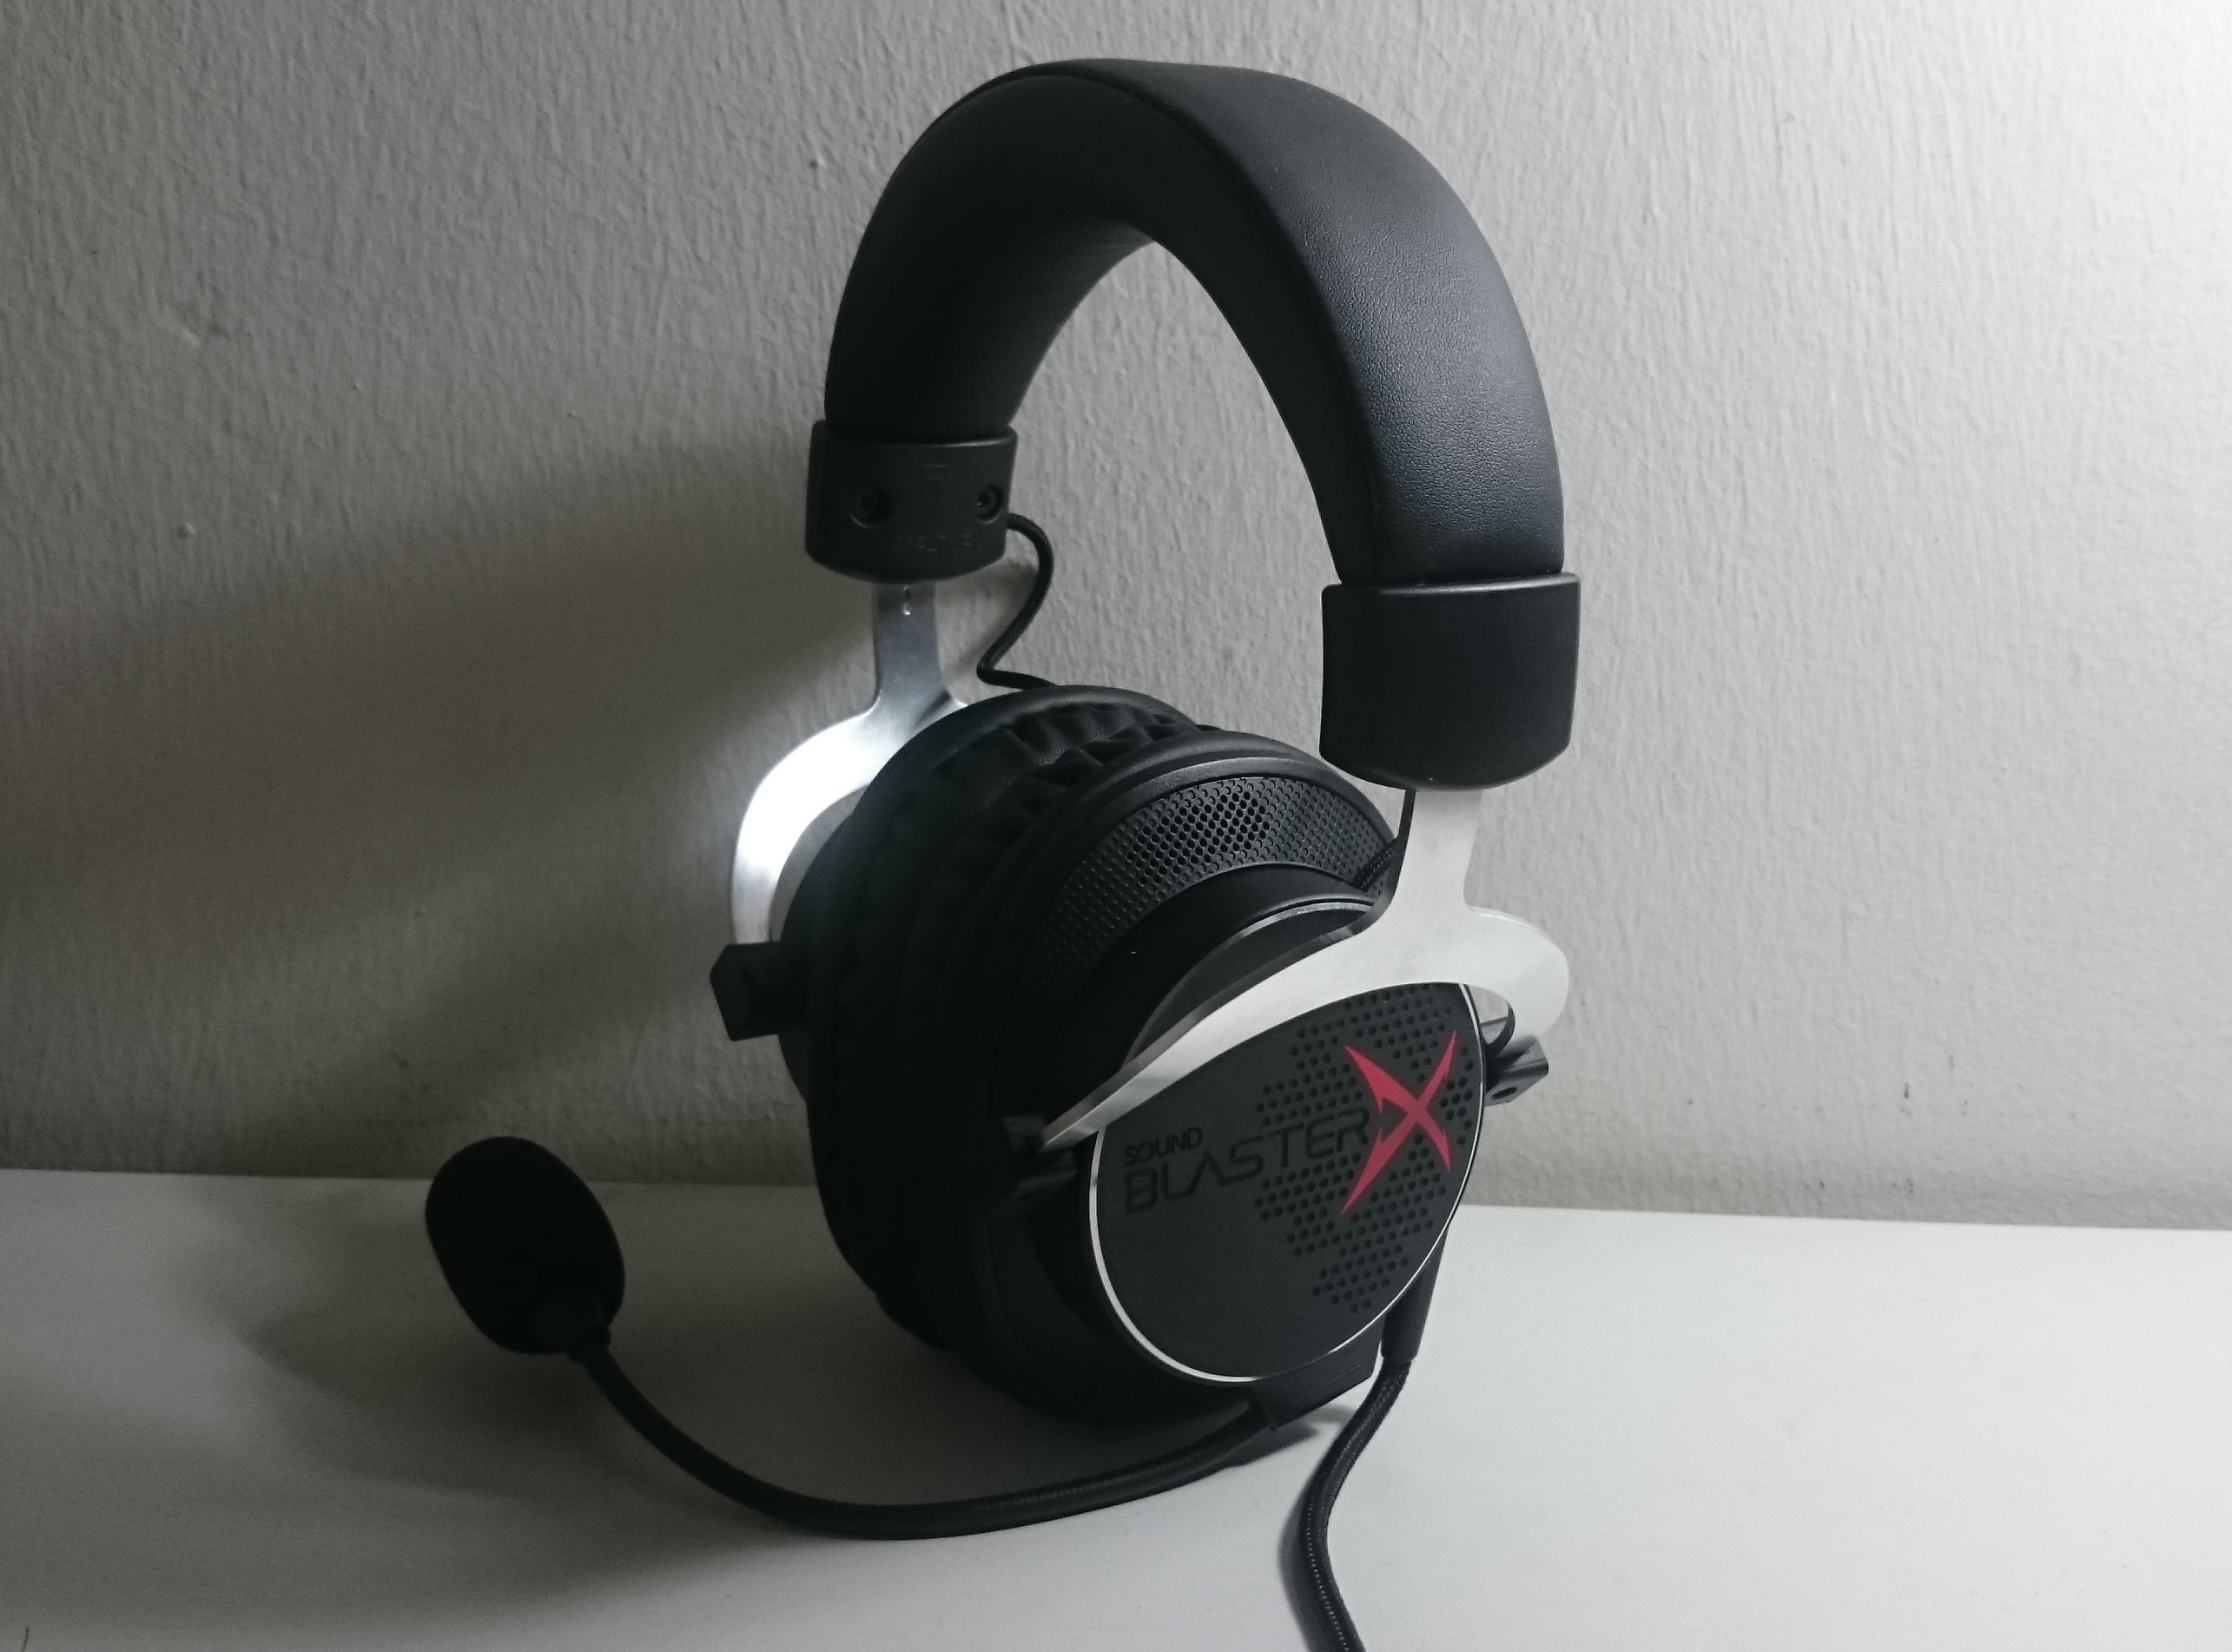
Use the actual audio path you plan to record, then listen to a short private playback. Check whether your own voice is clear, whether game audio overwhelms it and whether private conversation is being captured unintentionally. Change one setting at a time so you can tell what helped. The headset and older Rock Band USB microphone shown here are illustrative equipment photographs; neither has been tested for this game by us. A familiar connector or product name does not establish compatibility. Verify your own hardware against its documentation and console settings.
Decide what should stay off the recording before you start. That includes account notifications, payment details, redemption codes and other people's private conversations. If you are collaborating, agree on what participants are comfortable having recorded rather than assuming that joining a chat means consent to publication. A short rehearsal can reveal an unwanted notification or an open personal window before a live session exposes it. This is practical privacy preparation, not a guarantee that a particular recording app or console setting prevents every accidental disclosure.

Continue: Page 2: creator planning, evening checklist, sources and photo credits
Turn a useful idea into a practical next step.
Use what you learned, then choose the support that fits the work ahead.
- Identify the work
Decide whether you need a new website, a focused service or ongoing support.
- Compare your options
Review scope and current charges before choosing.
- Talk through your project
Bring your website, your goal and the question you want to solve.
Older tutorials may describe earlier software or interfaces. Confirm current requirements before making changes.