How to add a product on Influx Plus

How To Add A Product on Influx Plus

Introduction

Hey Team Influx, today we are going to be showing you guys how to add a product on Influx Plus. Please watch this quick and simple step-by-step on how to add a product on the Influx Network.

What is a product? A product is anything that can be offered to a market to satisfy the desire or need of a customer.
how to add a live chat option using hubspot on Influx Plus
Step 1: Login To Your Dashboard
integrate stripe with woocommerce on the influx network

The first thing you’re going to do is log in to your dashboard. to sign in to your website use this link: www.influxentrepreneur.com/clientarea

If you are not a part of the influx network, you can join by clicking here.

Step 2: Go to all products
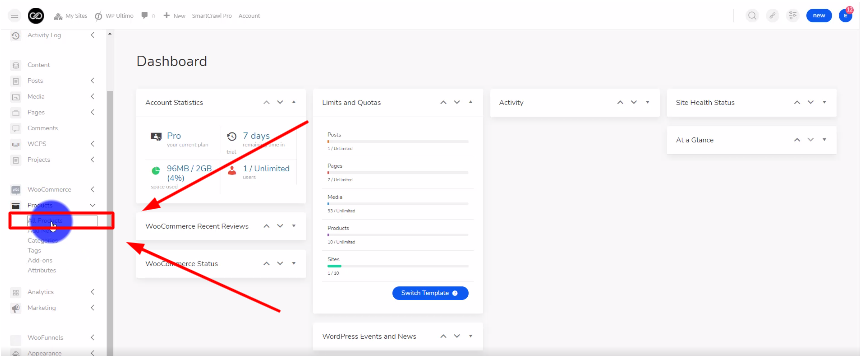
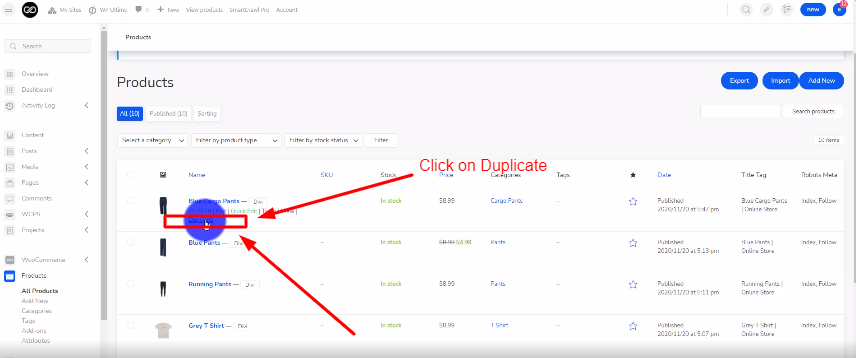
The next thing you’re going to do is go to your products page. To do that you have to look on the left hand side and look for Products. Click on that then click on All Products.

Step 3: Duplicate a product

The next thing you’re going to do is duplicate a product. You can do that by hovering over a product that is already there and clicking on Duplicate.  

Step 4: Name your product
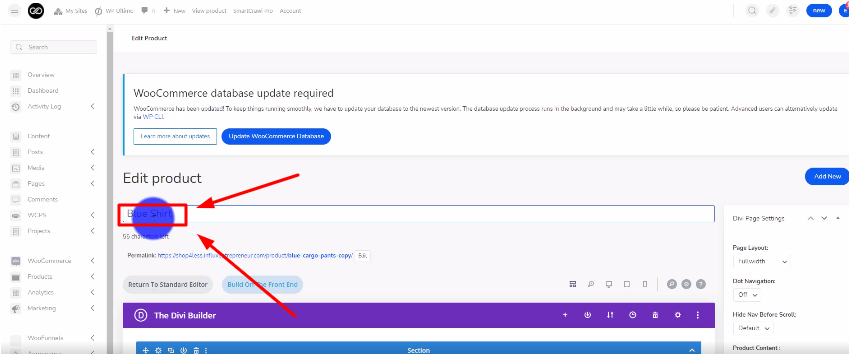
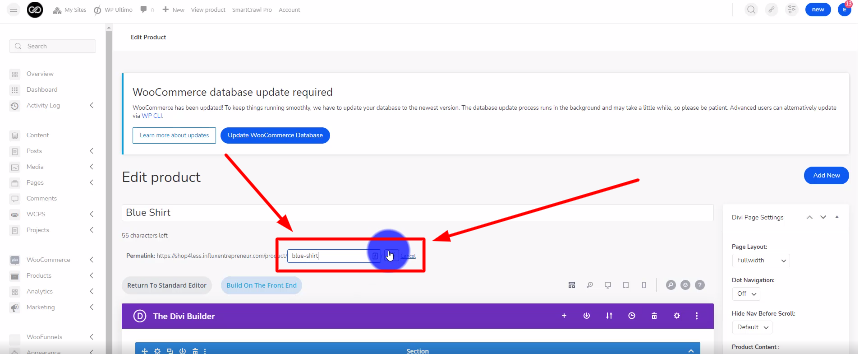
Now, you’re going to give your product a name. You have to enter the name in the top bar like shown in the screenshot above.

Step 5: Name your permalink

Change your permalink. You can name it the same as your product name. What is a permalink? A permalink is the link people will click on to get to your product.

Step 6: Update the product image

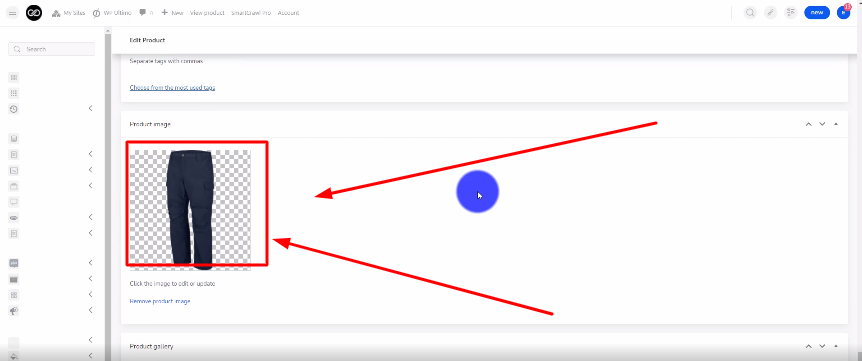
Click on the image to upload a different product image.

Step 7: Give your product a price

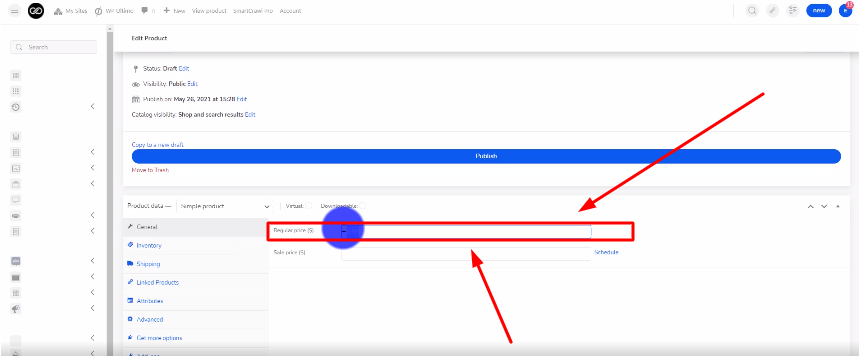
Now you’re going to give your product a price. Enter the price where it says Regular Price like shown in the screenshot above.

Step 8: Publish your product

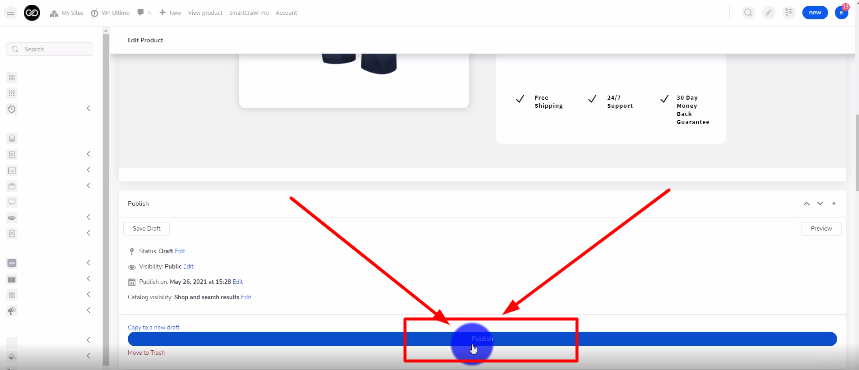
Click the Publish button to publish your product.
Conclusion

There you guys have it. That was a quick tutorial on how to add a product on the Influx Plus. To Join influx plus click here