How to add a footer to your website
Today, we are going to be showing you how to add a footer to your website on Influx Plus. The footer is the very last thing your customer sees while on your site. You have to make sure there is important information on the footer.
Step 1: Login to your website
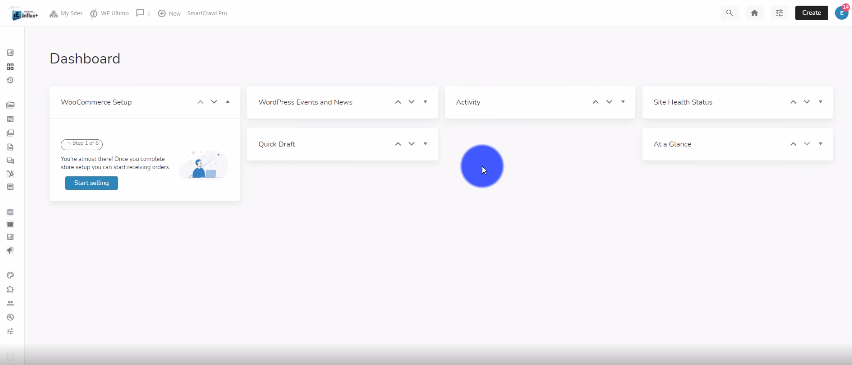
The first thing you need to do is log in to your website. To do that you have to go to www.InfluxEntrepreneur.com/clientarea
**If you are not a part of the network, join us by going to www.InfluxEntrepreneur.com**
Step 2: Go to your widgets
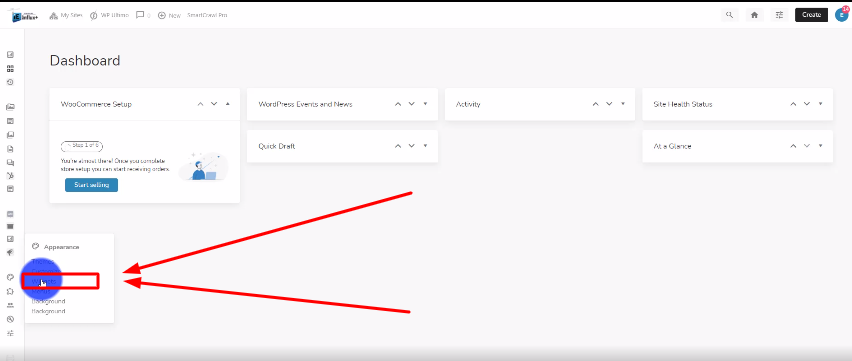
Now, you’re going to look on the left hand side, and look for Appearance. Then click on Widgets. Like shown in the above screenshot.
Step 3: Drag the text to footer area 1
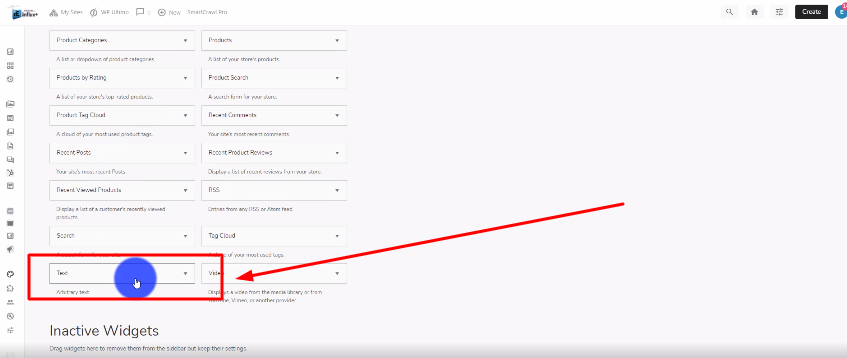
Then, you’re going to drag the text module onto footer area 1. As shown in the screenshot above.
Step 4: Add the information you want
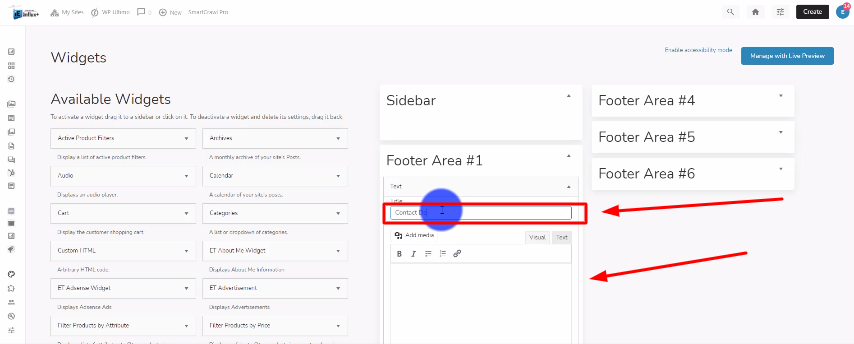
Now, you’re going to add the information you want. I labeled the title as Contact us and in the 2nd section below that, I added our contact email and phone number. You can choose to add what you want. Don’t forget to click on the Save Button to save your changes.
Step 5: Repeat steps 3 &4 for footer area 2 & 3
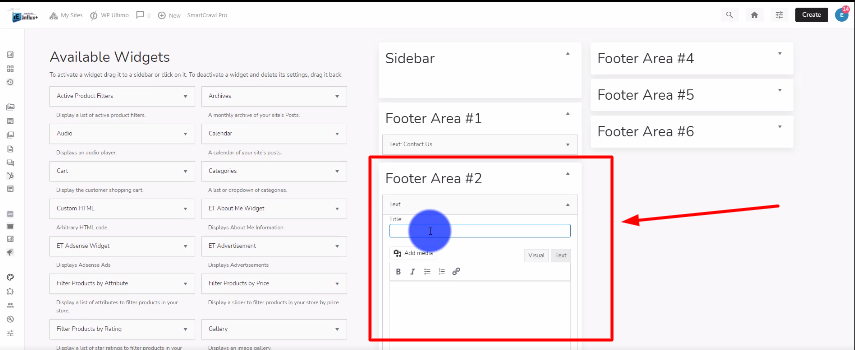
Now, Im going to follow steps 3 and 4 to footer areas 2 and 3. You can choose to put any information you want. Make sure to click the save button. I added the hours of operation to footer area 2 and the location to our business on footer area 3.
Step 6: Add the search bar to footer area 4
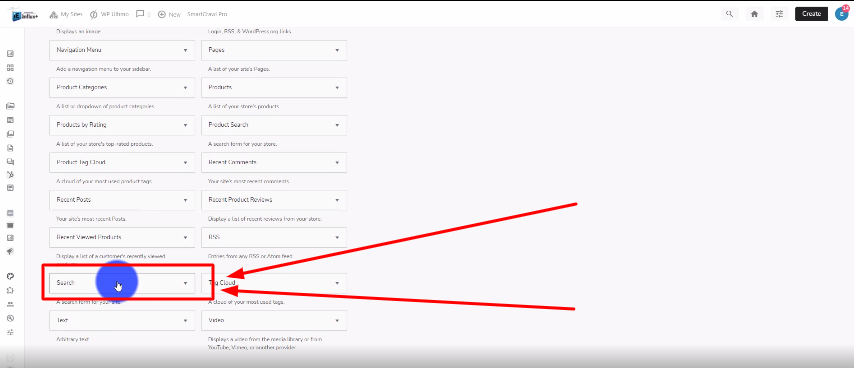
Now, you’re going to drag the search module into footer area 4. As shown in the screenshot above.
Conclusion

There you guys have it. That was a quick tutorial on how to add a footer to your website using Influx Plus. Thank you guys for watching and we hope you enjoyed this step-by-step tutorial.
