How To Add A Page Using Divi On Influx Plus
Introduction
Hey Team Influx, today we are going to be showing you guys how to add a page using Divi on the Influx Network. Please watch this quick and simple step-by-step on how to add a page to your website using Divi on the Influx Network.

Step 1: Login To Your Dashboard

The first thing you’re going to do is log in to your dashboard. If you are not a part of the influx network, you can join by clicking here.
Step 2: Add New Page
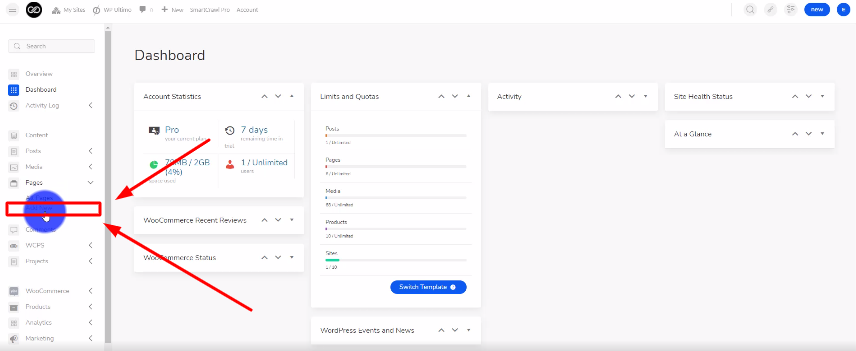
The next thing you’re going to do is go to All Pages then click on Add New
Step 3: Name Your Page
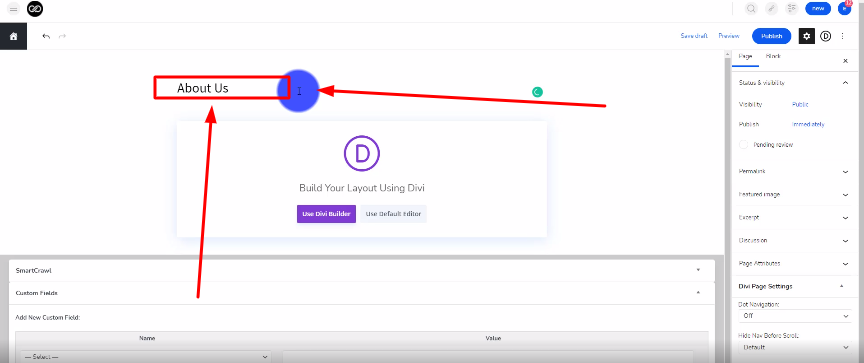
The next thing you’re going to do is name your page.
Step 4: Enable Visual Builder
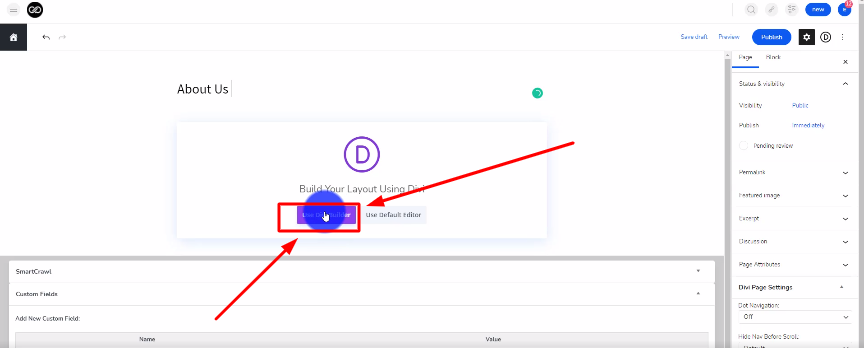
Now, you’re going to click on the Use Visual Builder button.
Step 5: Browse Premade Layouts

Now you’re going to select the Browse Layouts button
Step 6: Choose a premade layout
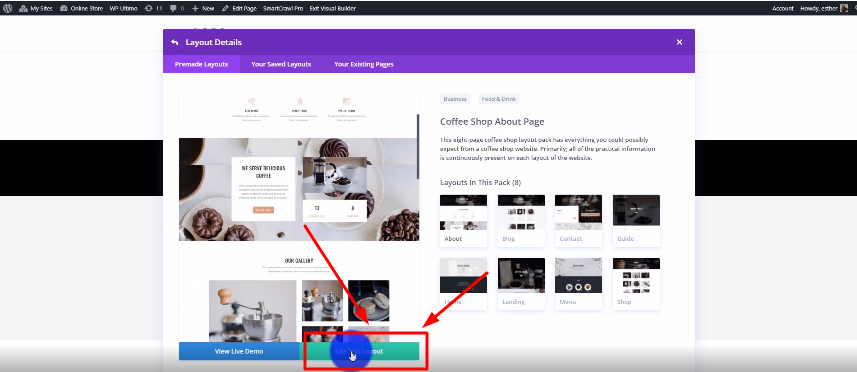
Next, you’re going to choose a premade layout. Click on the Use This Layout button.
Step 7: Customize your page
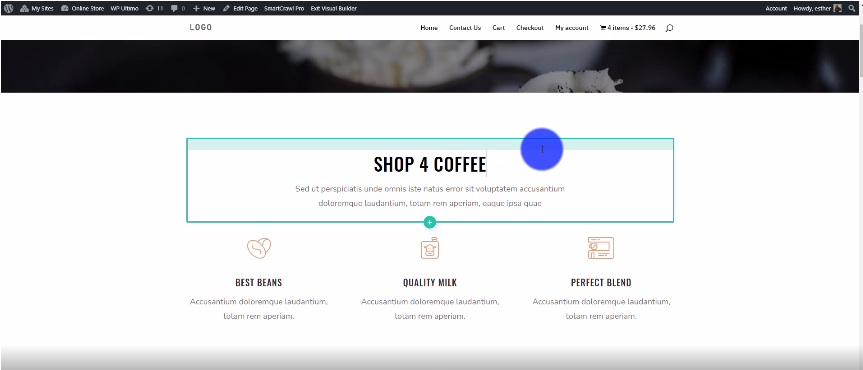
In this step, you will customize your page to your liking.
Step 8: Publish Your Page
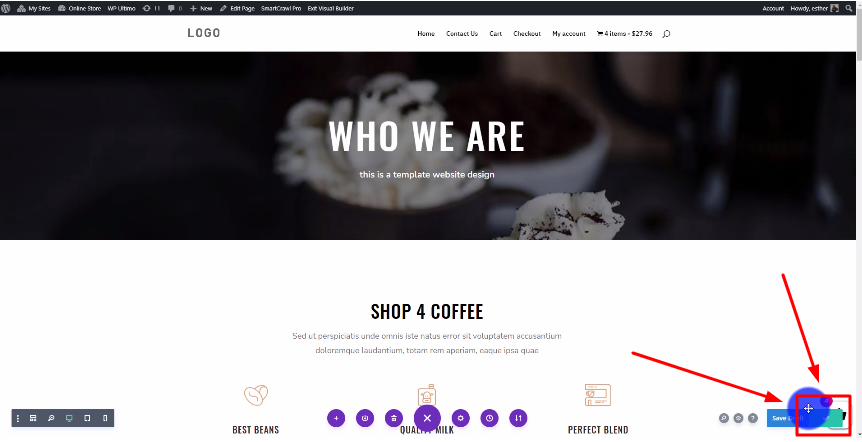
The last step is to publish your page.
Conclusion
There you guys have it. That was a quick tutorial on how to add a page to your website on the Influx Network. To Join Influx Plus click here
