How to add and customize the button module on divi using Influx Plus
Hey Team Influx, today we are going to be showing you guys how to add and customize the button module on Divi using the Influx Plus Network.
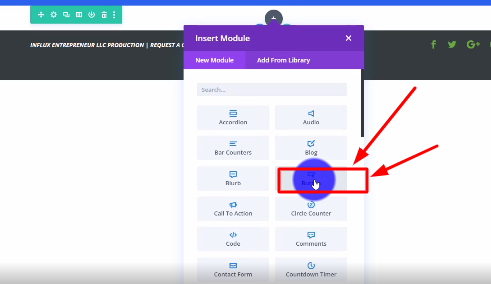
Step 2: Add text
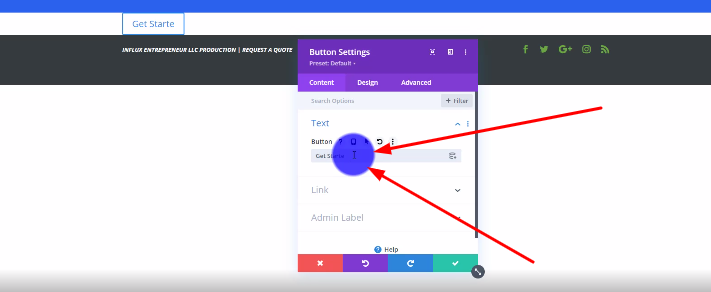
The next thing you're going to do is add the button text like shown in the screenshot above.
Step 3: Add the link
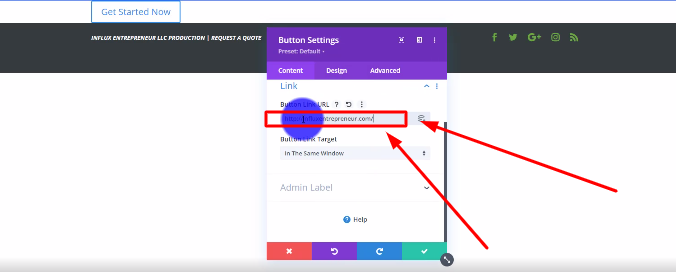
The next thing you're going to do is scroll down to where it says “Link”. Add the link that your button is going to link back to like shown in the screenshot above.
Step 4: Go to the design settings
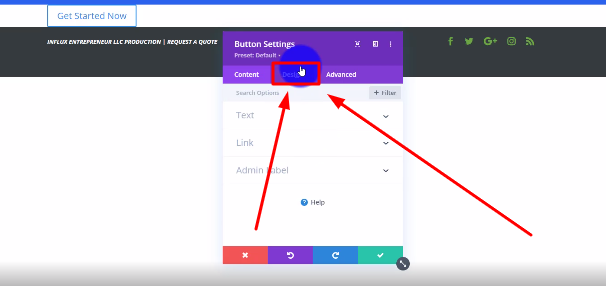
Step 5: Center your button
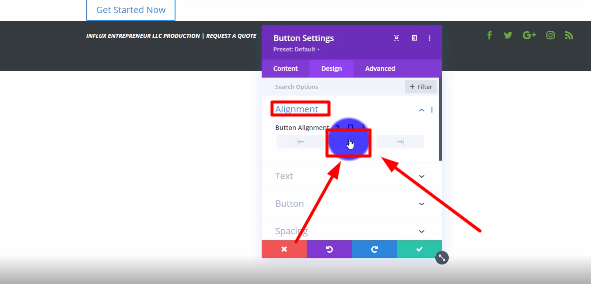
Step 6: Enable custom styles
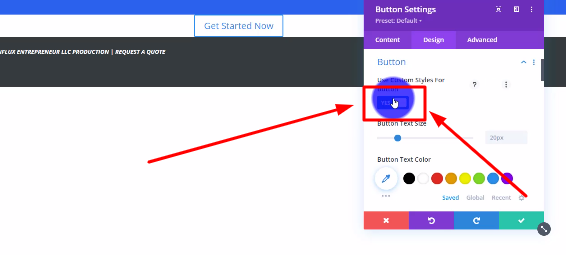
Step 7: Change your text size
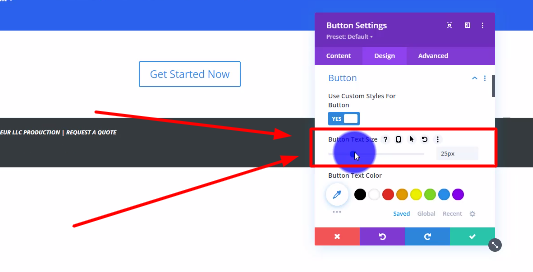
Step 8: Change your button text color
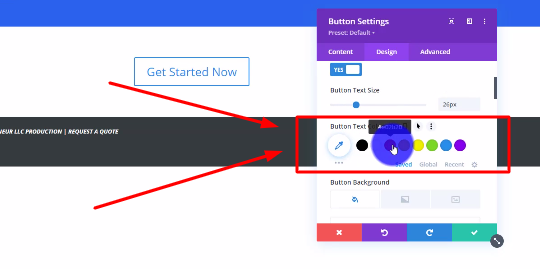
Step 9: Change your button background color
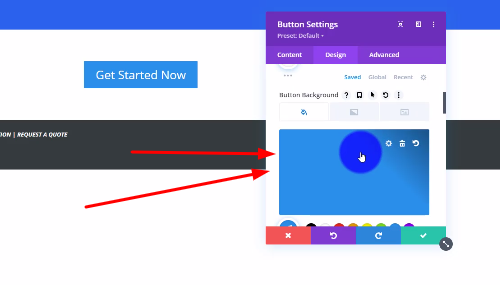
Step 10: Adjust the border radius
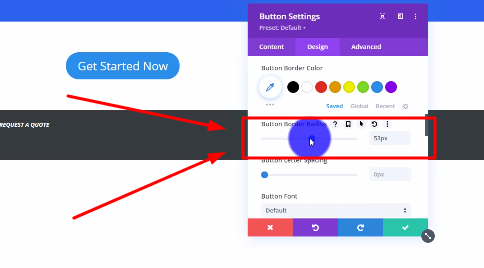
There you guys have it. That was a quick tutorial on how to add and customize the Divi button module on Influx Plus. As you can see, the divi button module is 100% customizable. To Join influx plus click here
