If you’re looking to install the History Eraser extension on Google Chrome, you came to the right place!
Down below you’ll see step by step how to install the History Eraser extension on Google Chrome
Step 1: Navigate to Google Chrome
Navigate to Google Chrome, you’ll find it somewhere towards the bottom of your screen on your taskbar.

Step 2: Navigate to the Chrome Web Store
When you have gone onto Google Chrome type, https://chrome.google.com/webstore/category/extensions into the search bar and you will go straight to the Chrome Web Store.

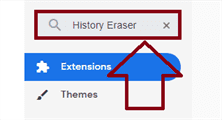
Step 3: Type “History Eraser” in the search bar
In the top left-hand corner, you will see a search bar that says, “Search the store”. Type “History Eraser” into there and then press enter.
Step 4: Click on the “History Eraser” extension
You will see “History Eraser”, click on it and you will be redirected to a page where you can install the extension.
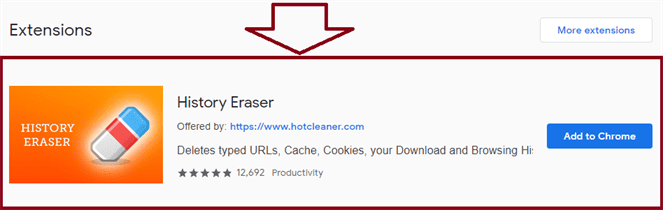
Step 5: Click on the “Add to Chrome” button
There will be a big blue button that says, “Add to Chrome”. Click on the button.

Step 6: Click the “Add extension” button
Something will pop up on your screen asking if you want to install the extension. Click the “Add extension” button.

That was a step by step tutorial on how to install the History Eraser extension on Google Chrome. Down below there’s a video tutorial on what we talked about today!
Video Tutorial
In this video, you’ll learn step by step how to install the History Eraser extension on Google Chrome
That’s it! You just installed the History Eraser extension on Google Chrome. If you have any questions on what we talked about, make sure to contact us at https://mailchi.mp/8fbfe8a6fe84/contact-influx-today This has been a tutorial on how to install the History Eraser extension on Google Chrome!
