Best Divi Child Themes

Introduction 

There are hundreds of Divi Child Themes on the internet. Are you interested in seeing which ones are the best? Are you tired of looking for the best ones, only to fall short? Are you looking for a Divi Child Theme that just screams “this is the one”? Well, you’ve reached the right place.

Continue reading to find out what the BEST Divi Child Themes Are. As well as, learn about the who, what, where, when & why — DIVI CHILD THEME


divi child theme

Divi Child Theme.

Photograph by Elegant Themes via Blog Post

What Are Divi Child Themes?

Before we start talking about what the best Divi Child Themes are, let’s talk about what it actually is.

First, you need to know what a Parent Theme is. A parent theme is just a WordPress Theme that was used to create the Child Theme.

A Child Theme, in general, is a WordPress Theme that has the same functionality & style as the parent theme. So for this instance, Divi Child Themes have the same look & feel as the original Divi Theme (parent theme).


Different Types of Child Themes

There are two different types of child themes:

1. A blank child theme: A standard child theme that is comprised of some files.

2. A Premium child theme: A fully designed website template.

For this post, we will be talking about Premium Divi Child Themes. They’re typically created & sold to others so they can be used as a starting point when creating a website.


1. Restaurant Life | $89

restaurant life divi child themes

Restaurant Life was created for restaurants to take reservations & make deliveries. It includes WooCommerce, HubSpot, Google Analytics, & other plugins that are essential for the site. There are 9 fully designed pages including: Landing, Home, About Us, Gallery, Blogs, Shop, Team, Contact Us, Cart. The pages include email optins, content & images.

2. Coffee Shop | $59

coffee shop divi child themes

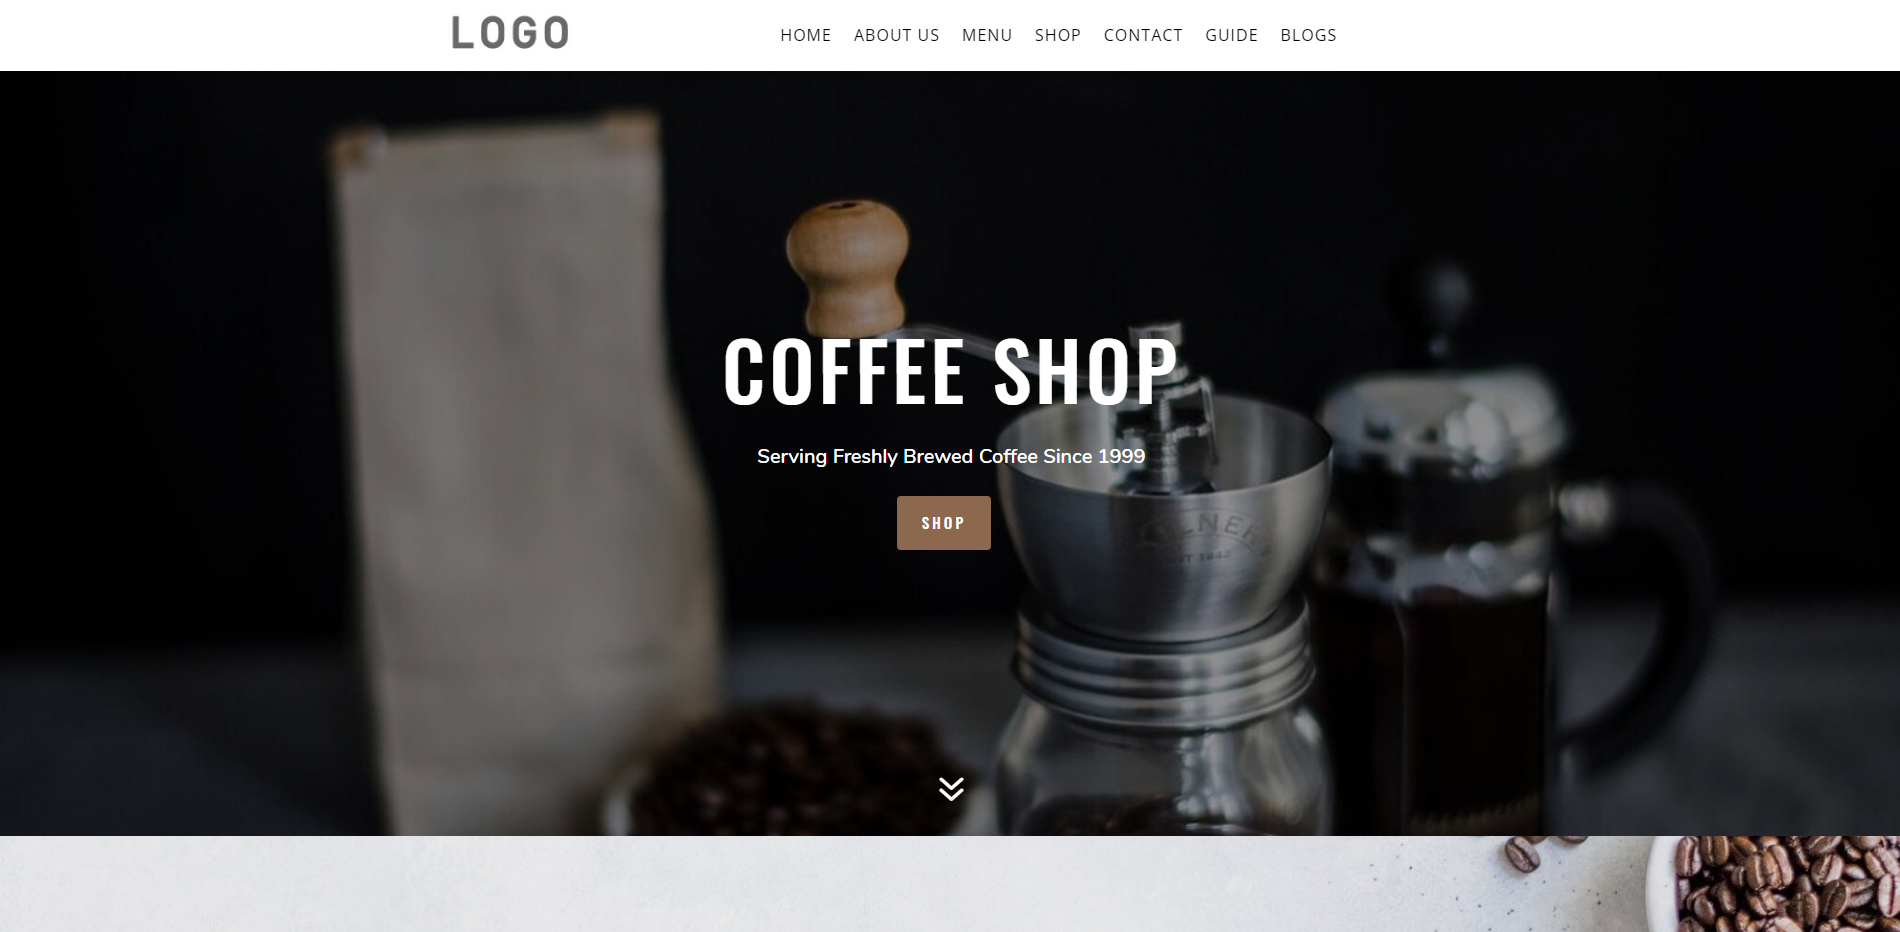
Coffee Shop was created for coffee shops that offers online ordering. There are 8 pages, fully customized including: Landing, Home, Menu, About Us, Contact Us, Guide, Shop & Blogs. The standard WooCommerce pages are also included. The integrations include: WooCommerce, HubSpot, Google Analtyics & other WooCommerce Addons.

3. Learning Plus | $59

learning divi child themes

Learning Plus was created for people who want to offer online learning courses. There are 10 pages including: Home, Landing, Shop, Pricing, Courses, Course #1, About Us, Contact Us, Marketing, Blog. The standard WooCommerce pages are also included. The integrations include: WooCommerce, HubSpot, Google Analytics & other WooCommerce Addons.

4. Design Agency | $59

design agency divi child themes

Design Agency was created for people who want to offer their services online. There are 10 pages including: Home, Landing, Shop, Portfolio, Project 1, Project 2, About Us, Contact Us, Blog, Case Study. The standard WooCommerce pages are also included. The integrations include: WooCommerce, HubSpot, Google Analytics & other WooCommerce Addons.

5. Business Agency | $59

business agency divi child themes

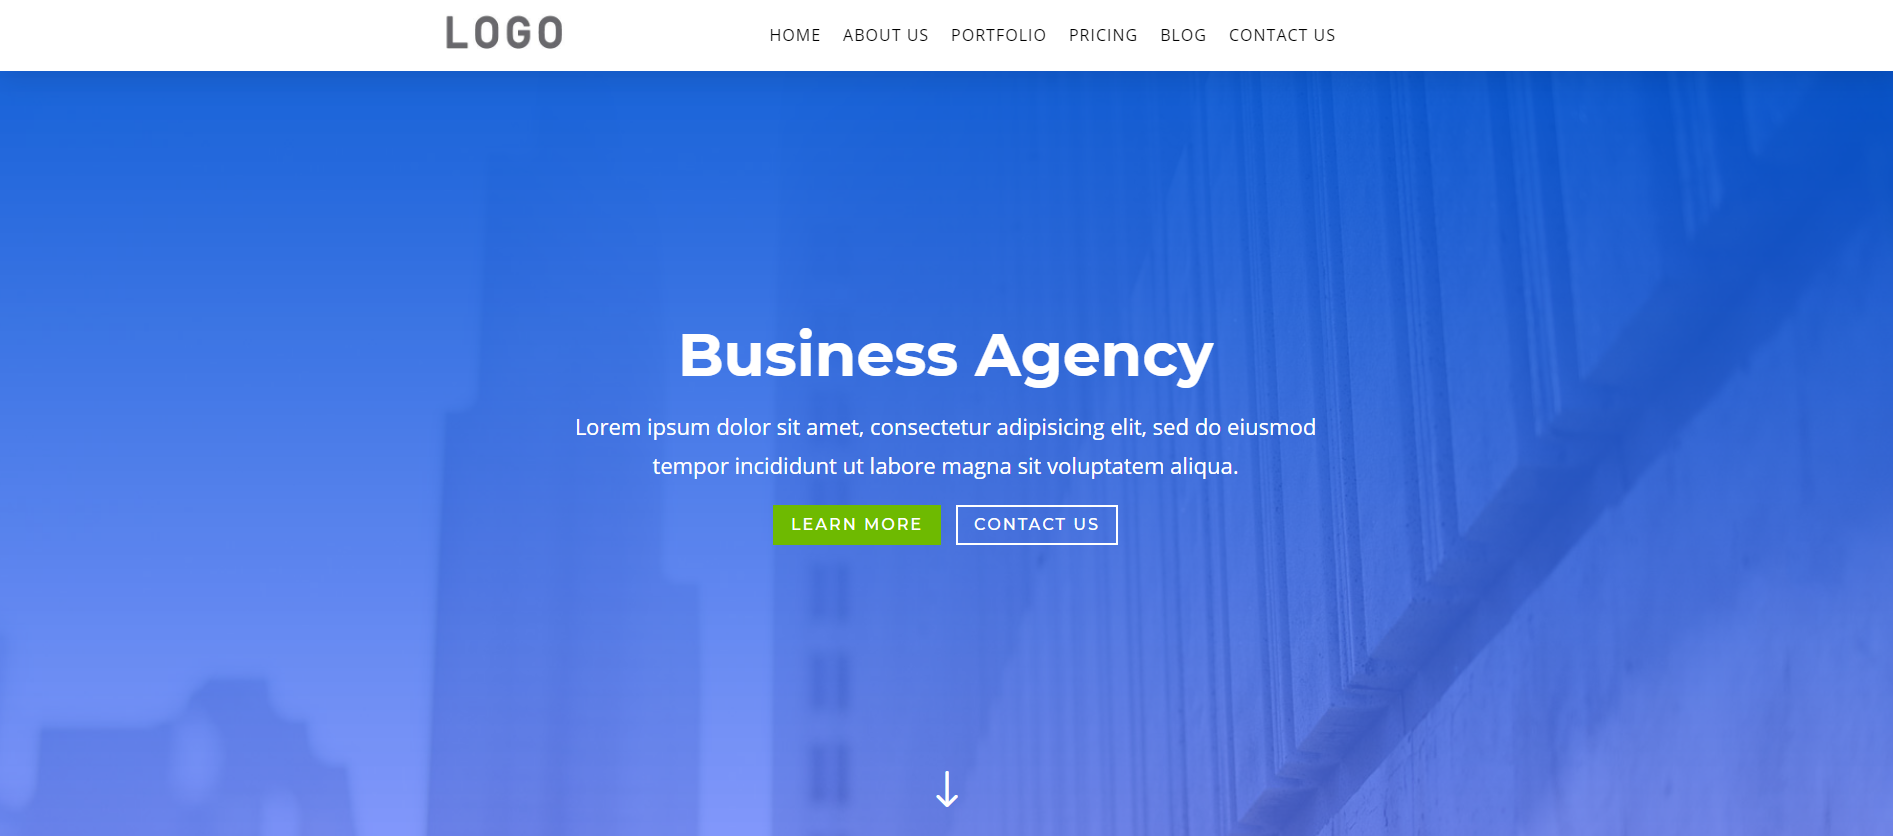
Business Agency was created for businesses who want to offer their services online. There are 8 pages including: Home, Landing, Shop, Portfolio, Pricing, About Us, Contact Us, Blog. The standard WooCommerce pages are also included. The integrations include: WooCommerce, HubSpot, Google Analytics & other WooCommerce Addons.

Want to see new articles before they get published? Subscribe to our Awesome Newsletter.

How to install the Nope extension on Google Chrome

What are power words?

Power words are words that capture the readers attention or in this case, catches the attention of the internet.

Often times people will post up words and content and unknowingly hindering their content because they are using these power words.
 

The First Power Word


YOU

 Make it all about the customer


Your focus should be on “how can I make the customer satisfied.” If you focus on that your marketing campaign will succeed. People want to feel loved. The customers of Influx Entrepreneur are happy with Influx, can you say the same about your business?

The reason, here at Influx we understand that being an entrepreneur, creator, business owner, parent, and friend is already a full-time job. Our customers do service with us because we provide a high level of service, a wide selection of packages tailor-made to fit our client’s vision. We want you to provide a service that fits your client’s vision.

The Second Power Word


FREE


 People can’t resist freebies


Give your audience something of value, anything as long as it adds value to the customer. For example, we at Influx Entrepreneur has a free website builder. You can get a website for free through influxentrepreneur.com.


What can you give to your audience? They love things that they can download after reading your blog. Imagine that, you giving your audience something tailor-made for their eyes only.

The Third Power Word


BECAUSE


Show them why they need it


Why do they need your product over someone else’s product. What makes you so unique, do you have a platform to make a website in under 60 seconds? I do and their name is Influx Entrepreneur

The Fourth Power Word


RISK FREE


They feel secure giving their time


Why are you feeling comfortable with reading this? It’s BECAUSE I’ve made you comfortable with my words because my words equal knowledge to the right person. Are you that person with the ability to do that for your audience?

The Fifth Power Word


SECRET


Everyone wants a secret tip/trick


I’ll let you in on a little secret, Influx Entrepreneur has a FREE website builder. You’re probably here to help build your site, we can do that for FREE here! How’s that for a secret?

The Sixth Power Word


INSTANTLY


Promise a quick payout


All I’m saying is this, you can get a FREE website in 60 seconds using Influx Entrepreneur. I don’t know how much more fast I can get.

If you’re lazy or don’t have a lot of time on your hands, here is a link that takes you directly to the Nope extension download button on the Google Chrome store. You’re welcome in advance.

DOWNLOAD NOW

That’s it! You just installed the Nope extension on Google Chrome.  If you have any questions on what we talked about, make sure to visit us at /  This has been a tutorial on how to install the Nope extension on Google Chrome!

How to install the I’m a Gentleman extension on Google Chrome

If you’re looking to install the I’m a Gentleman extension on Google Chrome, you came to the right place!


Down below you’ll see step by step how to install the I’m a Gentleman extension on Google Chrome

Step 1 to install I’m a Gentlemen extension: Navigate to Google Chrome


Navigate to Google Chrome, you’ll find it somewhere towards the bottom of your screen on your taskbar.

nope

Step 2 install I’m a Gentlemen extension: Navigate to the Chrome Web Store


When you have gone onto Google Chrome type, https://chrome.google.com/webstore/category/extensions into the search bar and you will go straight to the Chrome Web Store.

I'm a Gentleman

Step 3 install I’m a Gentlemen extension: Type “I’m a Gentleman” in the search bar


In the top left-hand corner, you will see a search bar that says, “Search the store”. Type “I’m a Gentleman” into there and then press enter.

I'm a Gentleman

Step 4 install I’m a Gentlemen extension: Click on the “I’m a Gentleman” extension


You will see the I’m a Gentleman extension, click on it and you will be redirected to a page where you can install the I’m a Gentleman extension.

I'm a gentlemen extension

Step 5 install I’m a Gentlemen extension: Click on the “Add to Chrome” button


There will be a big blue button that says, “Add to Chrome”. Click on the button.

I'm a Gentleman

Step 6 install I’m a Gentlemen extension: Click the “Add extension” button


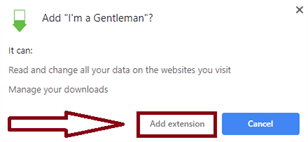
Something will pop up on your screen asking if you want to install the I’m a Gentleman extension. Click the “Add extension” button.

I'm a Gentleman

That was a step by step tutorial on how to install the I’m a Gentleman extension on Google Chrome. Down below there’s a video tutorial on what we talked about today!

Video Tutorial


In this video, you’ll learn step by step how to install the I’m a Gentleman extension on Google Chrome

If you’re lazy or don’t have a lot of time on your hands, here is a link that takes you directly to the I’m a Gentleman extension download button on the Google Chrome store. You’re welcome in advance.

DOWNLOAD NOW

That’s it! You just installed the I’m a Gentleman extension on Google Chrome.  If you have any questions on what we talked about, make sure to visit us at  This has been a tutorial on how to install the I’m a Gentleman extension on Google Chrome!


How to install the Print Friendly & PDF extension on Google Chrome

If you’re looking to install the Print Friendly & PDF extension on Google Chrome, you came to the right place!


Down below you’ll see step by step how to install the Print Friendly & PDF extension on Google Chrome

Step 1 to installing the Print Friendly & PDF extension: Navigate to Google Chrome


Navigate to Google Chrome, you’ll find it somewhere towards the bottom of your screen on your taskbar.

Print Friendly & PDF

Step 2 to installing the Print Friendly & PDF extension: Navigate to the Chrome Web Store


When you have gone onto Google Chrome type, https://chrome.google.com/webstore/category/extensions into the search bar and you will go straight to the Chrome Web Store.

Print Friendly & PDF

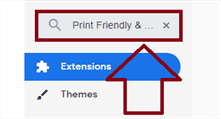
Step 3 to installing the Print Friendly & PDF extension: Type “Print Friendly & PDF” in the search bar


In the top left-hand corner, you will see a search bar that says, “Search the store”. Type “Print Friendly & PDF” into there and then press enter.

Print Friendly & PDF

Step 4 to installing the Print Friendly & PDF extension: Click on the “Print Friendly & PDF” extension


You will see “Print Friendly & PDF”, click on it and you will be redirected to a page where you can install the extension.

Print Friendly & PDF

Step 5 to installing the Print Friendly & PDF extension: Click on the “Add to Chrome” button


There will be a big blue button that says, “Add to Chrome”. Click on the button.

Print Friendly & PDF

Step 6 to installing the Print Friendly & PDF extension: Click the “Add extension” button


Something will pop up on your screen asking if you want to install the extension. Click the “Add extension” button.

Print Friendly & PDF

That was a step by step tutorial on how to install the Print Friendly & PDF extension on Google Chrome. Down below there’s a video tutorial on what we talked about today!

Video Tutorial


In this video, you’ll learn step by step how to install the Print Friendly & PDF extension on Google Chrome

That’s it! You just installed the Print Friendly & PDF extension on Google Chrome.  If you have any questions on what we talked about, make sure to contact us at https://mailchi.mp/8fbfe8a6fe84/contact-influx-today  This has been a tutorial on how to install the Print Friendly & PDF extension on Google Chrome!

How to install the Strict Workflow extension on Google Chrome

If you’re looking to install the Strict Workflow extension on Google Chrome, you came to the right place!


Down below you’ll see step by step how to install the Strict Workflow extension on Google Chrome

Step 1: Navigate to Google Chrome


Navigate to Google Chrome, you’ll find it somewhere towards the bottom of your screen on your taskbar.

Strict Workflow

Step 2: Navigate to the Chrome Web Store


When you have gone onto Google Chrome type, https://chrome.google.com/webstore/category/extensions into the search bar and you will go straight to the Chrome Web Store.

Strict Workflow

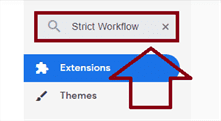
Step 3: Type “Strict Workflow” in the search bar


In the top left-hand corner, you will see a search bar that says, “Search the store”. Type “Strict Workflow” into there and then press enter.

Strict Workflow

Step 4: Click on the “Strict Workflow” extension


You will see “Strict Workflow”, click on it and you will be redirected to a page where you can install the extension.

strict workflow

Step 5: Click on the “Add to Chrome” button


There will be a big blue button that says, “Add to Chrome”. Click on the button.

Strict Workflow

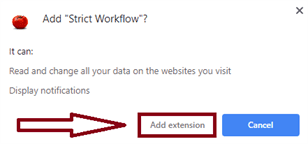
Step 6: Click the “Add extension” button


Something will pop up on your screen asking if you want to install the extension. Click the “Add extension” button.

Strict Workflow

That was a step by step tutorial on how to install the Strict Workflow extension on Google Chrome. Down below there’s a video tutorial on what we talked about today!

Video Tutorial


In this video, you’ll learn step by step how to install the Strict Workflow extension on Google Chrome

That’s it! You just installed the Strict Workflow extension on Google Chrome.  If you have any questions on what we talked about, make sure to contact us at https://mailchi.mp/8fbfe8a6fe84/contact-influx-today  This has been a tutorial on how to install the Strict Workflow extension on Google Chrome!